Can a pizza box really get hot enough to melt food using nothing but sunlight?
We got to find out when my daughter needed to build a pizza box solar oven for a school project. On paper, it sounded pretty simple: turn a pizza box into a mini oven, set it outside in the South Florida sun, and let solar energy do the rest.
The weather had other plans.
At the time, we were in the middle of a major home renovation project for work, and for a stretch our whole family was spending most of our days at the jobsite. We specifically set aside two days so we could stay home long enough to build, test, adjust, and document the solar oven before the assignment was due.
Somehow, both days were overcast.
So instead of a perfectly successful little science experiment, we got a much more realistic lesson in solar energy: changing angles, trying to trap more heat, waiting for clouds to move, checking our food, and figuring out which parts of the design actually mattered.
And yes, we eventually melted the chocolate.
Would I recommend eating the resulting s’more? That’s another story.
Here’s how we made our pizza box solar oven, what we learned while troubleshooting it, and some easy ways to turn the basic project into a bigger STEM experiment.

* This post includes Affiliate Links.
What Is a Pizza Box Solar Oven?
A pizza box solar oven is a simple homemade solar cooker that uses sunlight to create and trap heat inside a cardboard box.
The basic design uses aluminum foil to reflect sunlight into the box, a dark surface to absorb that energy, and a clear covering to help keep the warmed air inside.
It’s a great way for kids to actually see solar energy doing something rather than only reading about it.
And because you can make one mostly from things you probably already have at home, it’s also a pretty accessible STEM project.
What You Need to Make a Pizza Box Solar Oven
For our solar oven, we used:
- A clean pizza box
- Aluminum foil
- Plastic wrap
- Black construction paper
- Tape
- Scissors and/or a utility knife
- A pencil, skewer, or similar object to prop up the reflector
- Food to test inside the oven
You’ll also want a sunny outdoor spot where the box can sit undisturbed for a while.
Most of these are basic household or craft supplies, so I wouldn’t buy a bunch of special materials just for this project. If you’re already restocking supplies for kids’ projects, I keep some of the art and craft materials we use in my Amazon Kids’ Art & Craft Supplies list.
Optional: Add an Oven Thermometer
One thing I wish we’d incorporated into ours is an oven thermometer.
We could tell the inside of the box was getting warm and could watch the chocolate change, but having an actual temperature reading would have made our troubleshooting much more useful.
A small oven thermometer like this one can stay inside the box while kids track how the temperature changes over time—without repeatedly opening the solar oven and letting the trapped heat escape.
More on how to turn those measurements into an experiment below.
How to Make a Pizza Box Solar Oven
You don’t need a complicated design for this to work. The goal is simply to reflect sunlight into the box, absorb as much of that energy as possible, and keep the resulting heat from escaping too quickly.

1. Make the Reflector
With an adult’s help, cut a flap into the top of the pizza box, leaving one side attached so it can fold upward.
Cover the inside surface of that flap with aluminum foil. Try to keep the foil fairly smooth and shiny so it can reflect sunlight down into the box.
2. Create a Clear Window
Cover the opening you created with clear plastic wrap.
Seal the edges as well as you can with tape. The sunlight needs to pass through the clear covering while the warmed air stays trapped inside.
This became particularly important for us once we started troubleshooting our oven.
3. Add a Dark Surface
Place black construction paper inside the bottom of the pizza box.
The dark paper absorbs energy from the sunlight and helps turn it into heat inside the box.
4. Set Up Your Food
Place whatever you’re testing inside the oven.
I recommend putting food on a food-safe surface rather than directly on the construction paper. A small piece of parchment paper or foil, or a shallow disposable aluminum tray, makes the food easier to remove and keeps things cleaner.
Maybe seasoned campers are less bothered by these things than I am, but melted chocolate directly on construction paper wasn’t particularly appealing.
Close the pizza box.
5. Aim the Reflector Toward the Sun
Prop up the foil-covered flap and adjust its angle so that it reflects as much sunlight as possible through the clear window and into the box.
Then…wait.
Depending on the weather, the intensity of the sun, your oven design, and what you’re trying to warm, this can take some time.
In our case, quite a lot of time.

Our First Problem: The Sun Wouldn’t Cooperate
If there was one thing I thought we could count on for this project, it was South Florida sunshine.
Apparently not.
The two days we’d managed to set aside for testing were both overcast. And because we had a deadline, simply waiting another few days for perfect weather wasn’t really an option.
So we experimented.
We changed the angle of the reflector to catch as much sunlight as possible and worked on sealing the box better so less warm air could escape. Then we repositioned it and left it outside for hours. Every so often, we checked the progress, made another adjustment, and tried again.
In hindsight, that troubleshooting was probably more educational than having the project work perfectly on the first try.
It made it very obvious that a solar oven doesn’t simply need heat outside. It needs solar energy reaching the oven efficiently, and the design has to capture and retain as much of that energy as possible.
How Does a Pizza Box Solar Oven Work?
There are several simple pieces working together.
The aluminum foil reflects sunlight into the box.
The black paper absorbs that solar energy and converts some of it into heat.
The clear plastic allows sunlight to enter while helping slow the escape of the warmed air.
And the closed box helps hold that warmer air inside.
That’s also why adjusting the reflector and improving the seal made sense when ours wasn’t getting as hot as we’d hoped.
The project becomes a really tangible way to talk about reflection, absorption, heat transfer, and solar energy without those concepts feeling quite so abstract.
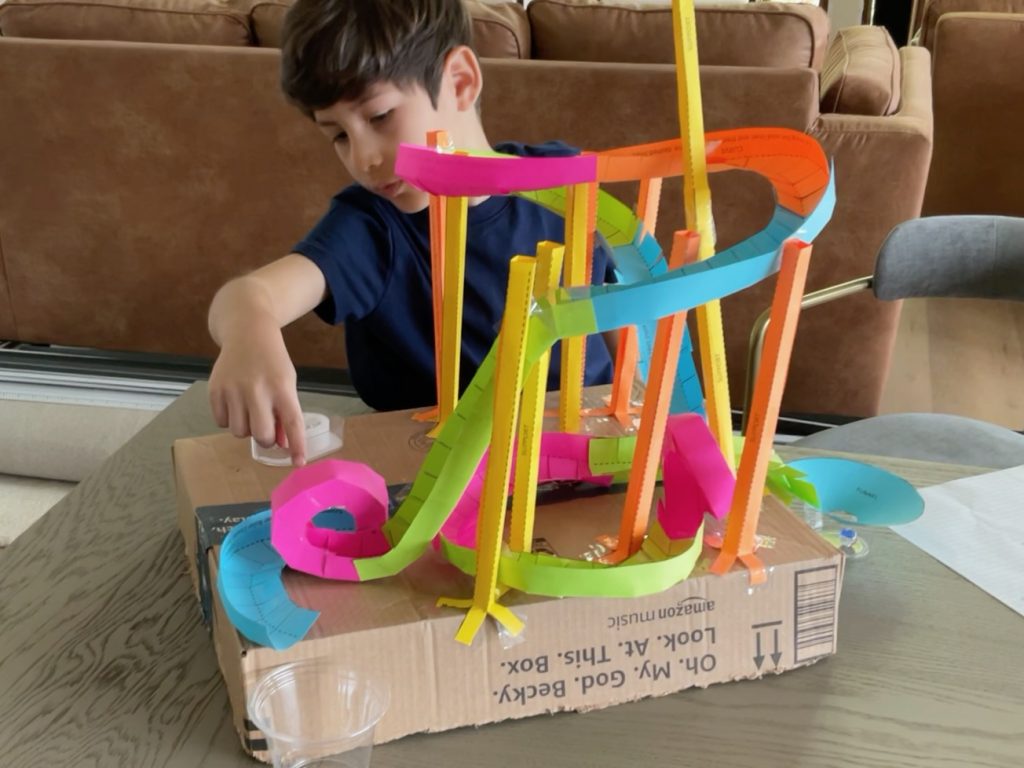
If your kids like learning by actually building and testing something, we had a very different experience with our Paper Roller Coaster STEM Project, where we experimented with gravity, momentum, and lots of trial and error.

Did Our Pizza Box Solar Oven Actually Work?
Technically? Yes.
As an actual kitchen appliance? I wouldn’t cancel your oven delivery just yet. 😂
We chose to test ours with s’mores because the chocolate only needed to soften and melt rather than truly cook.
And eventually, it did. The problem we hadn’t really considered was humidity inside the box.
We were deliberately trying to trap warm air inside our homemade oven. That also meant trapping moisture. Our graham crackers became soggy.
The chocolate melted, so from an experiment standpoint we had accomplished what we needed to accomplish. From a snack standpoint, nobody was fighting over the finished product. We threw it away.
I was also very aware that we were leaving food outside for an extended period of time and didn’t particularly want ants discovering our science experiment before we did.
So if I repeated this project, I’d be thinking less about making the perfect solar-powered snack and more about choosing foods that provide a clear, visible change.
The Accidental Solar Oven We’d Been Using All Along
There was also some irony happening in the background of this entire project.
While we were at the renovation jobsite every day, some of the workers would bring their lunches with them in the morning and leave them on the dashboard of their vehicles. By lunchtime, their food was warm.
Meanwhile, we were taking time off from the jobsite to sit at home repositioning a foil-covered pizza box and begging the clouds to move. Apparently we’d been parking next to a pretty effective demonstration of solar heat the entire time.
It also gave us a very relatable real-world example of the same basic idea: sunlight enters through the vehicle’s windows, surfaces inside absorb that energy, and heat builds up inside.

Want to Turn It Into More of a Science Experiment?
Building the oven demonstrates the basic concept, but changing one variable at a time turns it into a much more interesting experiment.
This is where I’d use an oven thermometer if we did the project again.
Kids could record the starting temperature inside the oven, check it at regular intervals, and then change one part of the setup to see whether it makes a measurable difference.
Try experimenting with:
- Different reflector angles
- Sunny versus partly cloudy conditions
- Different times of day
- A better-sealed versus loosely sealed window
- Black paper versus a lighter-colored surface
- Additional insulation around the box
- Different locations around the yard
- Different foods of similar sizes
Have kids make a prediction before each change, record what happens, and compare the results afterward.
Even if the oven doesn’t get particularly hot, the data itself becomes part of the project.
What Foods Can You Try in a Pizza Box Solar Oven?
After our soggy-s’more experience, I would approach this less as “What can we cook?” and more as “What can we watch change?”
A homemade pizza box oven isn’t going to maintain the consistent temperatures of a real kitchen oven, so foods that only need to warm, soften, or melt make much more sense.
Chocolate
Chocolate is probably where I’d start. You can simply watch a piece soften or turn it into an experiment by comparing different types or sizes of chocolate.
Which melts first? Does a thin piece melt faster than a thick one? What happens if you move one piece closer to the reflected sunlight?
Cheese
Cheese gives kids another very visible change without needing to actually cook something through. Try comparing shredded cheese with a thicker slice and have kids predict which one will soften first.
Again, place it on parchment, foil, or another food-safe surface rather than directly on the paper lining the box.
Marshmallows
Marshmallows can soften and change texture in the heat, although we didn’t get the browned, toasted exterior you’d get over a campfire.
You could even put chocolate and a marshmallow side by side and compare what happens to each over the same amount of time.
The point doesn’t have to be creating something delicious. Sometimes the better experiment is simply asking, “What do you think will happen?” and then finding out.
If Your Kid Wants to Keep Experimenting With Solar Energy
One of the nice things about this project is that you really don’t need a special kit to explore solar energy. A cardboard box, some foil and a stubborn willingness to wait for the clouds to move gave us plenty to experiment with.
But if your child finishes the project wondering what else sunlight can actually do, there are some fun ways to take that curiosity further.
See Solar Energy Create Movement
Our pizza box solar oven used sunlight to create heat. A solar-powered robot gives kids a completely different way to see that energy at work.
The Sillbird 12-in-1 Solar Robot Building Kit lets kids build and rebuild different models that can actually move using solar power. I especially like this as a follow-up because the solar panel isn’t just part of the theme. It’s part of what makes the finished build work, so kids can see the connection between available sunlight and what their robot is able to do.
It also has a battery-powered option, which would have been particularly useful during the two cloudy days we spent trying to convince our solar oven to cooperate.
Go Deeper Into Green Energy
For a kid who becomes really interested in how we can turn natural energy into usable power, Snap Circuits Green Energy takes the idea much further.
Instead of focusing only on solar power, kids can work through more than 125 projects involving solar, wind, hydro, hand-generated power, rechargeable batteries and other forms of alternative energy. It gives them a chance to build, test and compare different ways energy can be generated and used rather than completing one experiment and being done with it.
This one is definitely a bigger step beyond the pizza box project, but it’s also the kind of kit a curious kid can keep coming back to as they start asking bigger questions about where energy comes from and how it works.
More STEM Tools for Curious Kids
I’ve also put together a growing list of STEM Projects & Hands-On Learning for Kids with engineering kits, science tools, building projects and other resources that pair well with the hands-on learning activities we do at home.
I’m adding to it as we find worthwhile ways to extend the projects we’re already doing, rather than filling it with every STEM toy we come across.
If The Food Science Was The Fun Part
Not every kid is going to finish a solar oven project fascinated by renewable energy. Some are going to finish it wondering what other foods they can experiment with.
I completely understand that direction too.
Experiment With the Science of Ice Cream
The KiwiCo Science of Cooking: Ice Cream Kit takes the same combination of food and science in almost the opposite direction. Instead of using sunlight to create heat, kids experiment with ice, salt and ingredients to explore what happens when things get cold.
Kids can make their own ice cream and sorbet while learning about things like ice crystals, freezing and the science behind the texture of the finished food. I like this as a follow-up to the solar oven because both activities start with something kids already understand and care about—food—and use it to make the science much easier to see.

Ready to Graduate to the Real Kitchen?
Of course, kids don’t need a science kit to keep experimenting with food.
If the cooking part of this project was the biggest hit, there are plenty of simple things kids can learn to make in the regular kitchen without starting with complicated recipes or needing a parent to do every step.
That’s exactly why I put together Easy Foods Kids Can Make Themselves: Simple Snacks, Meals & Kitchen Ideas. These are realistic foods and kitchen skills kids can gradually learn to handle more independently as they’re ready.
Because as fun as melting chocolate with the sun can be, sometimes you just want lunch before the clouds roll in.
More Hands-On Learning Ideas
If your child likes projects where they get to build, test, and figure out why something works—or why it doesn’t—try our Paper Roller Coaster STEM Project next. We built a working roller coaster completely from paper and learned quite a bit through trial and error.
For kids who are always building, experimenting, solving puzzles, or asking how things work, you can also browse my Gift Ideas for Curious Kids Ages 8–12 for more learning toys, books, games, and creative tools.


Hi, I’m Paula — mom of two growing kids, lifelong overthinker, and the person behind Thanks Mommy. I share thoughtful parenting, raising curious and independent kids, creativity, learning at home, simple recipes, and the everyday things we learn along the way.